Photographer Leonardo Mascaro first became obsessed with shooting multiple exposure photographs when he was shooting concerts in his native Brazil. He saw other people creating double exposure images of shows, and instantly wanted to recreate this photography technique.
But Photoshopping two images together in a natural way proved challenging. “I don’t consider myself a Photoshop wizard,” Mascaro says. Eventually, he decided to get into photography full time, and invested in a Canon 6D, a professional-quality DSLR which comes with a multiple exposure setting. Many full frame DSLRs currently available have this function, which combines images into a single frame right in-camera. Still, more often than not, digital photographers will turn to Photoshop to produce multiply exposed images.
“I think not many people know about it,” Mascaro says of this creative feature. “Because I see people using Photoshop for this method, and when I do some research I see that the guy used a camera like mine, and I’m like, ‘Do you know you can use a camera function for that?’ And they usually have no idea.” A few steps in-camera can eliminate hours of work in Photoshop, and the result tends to be more interesting, since you can compose the image right on the spot.
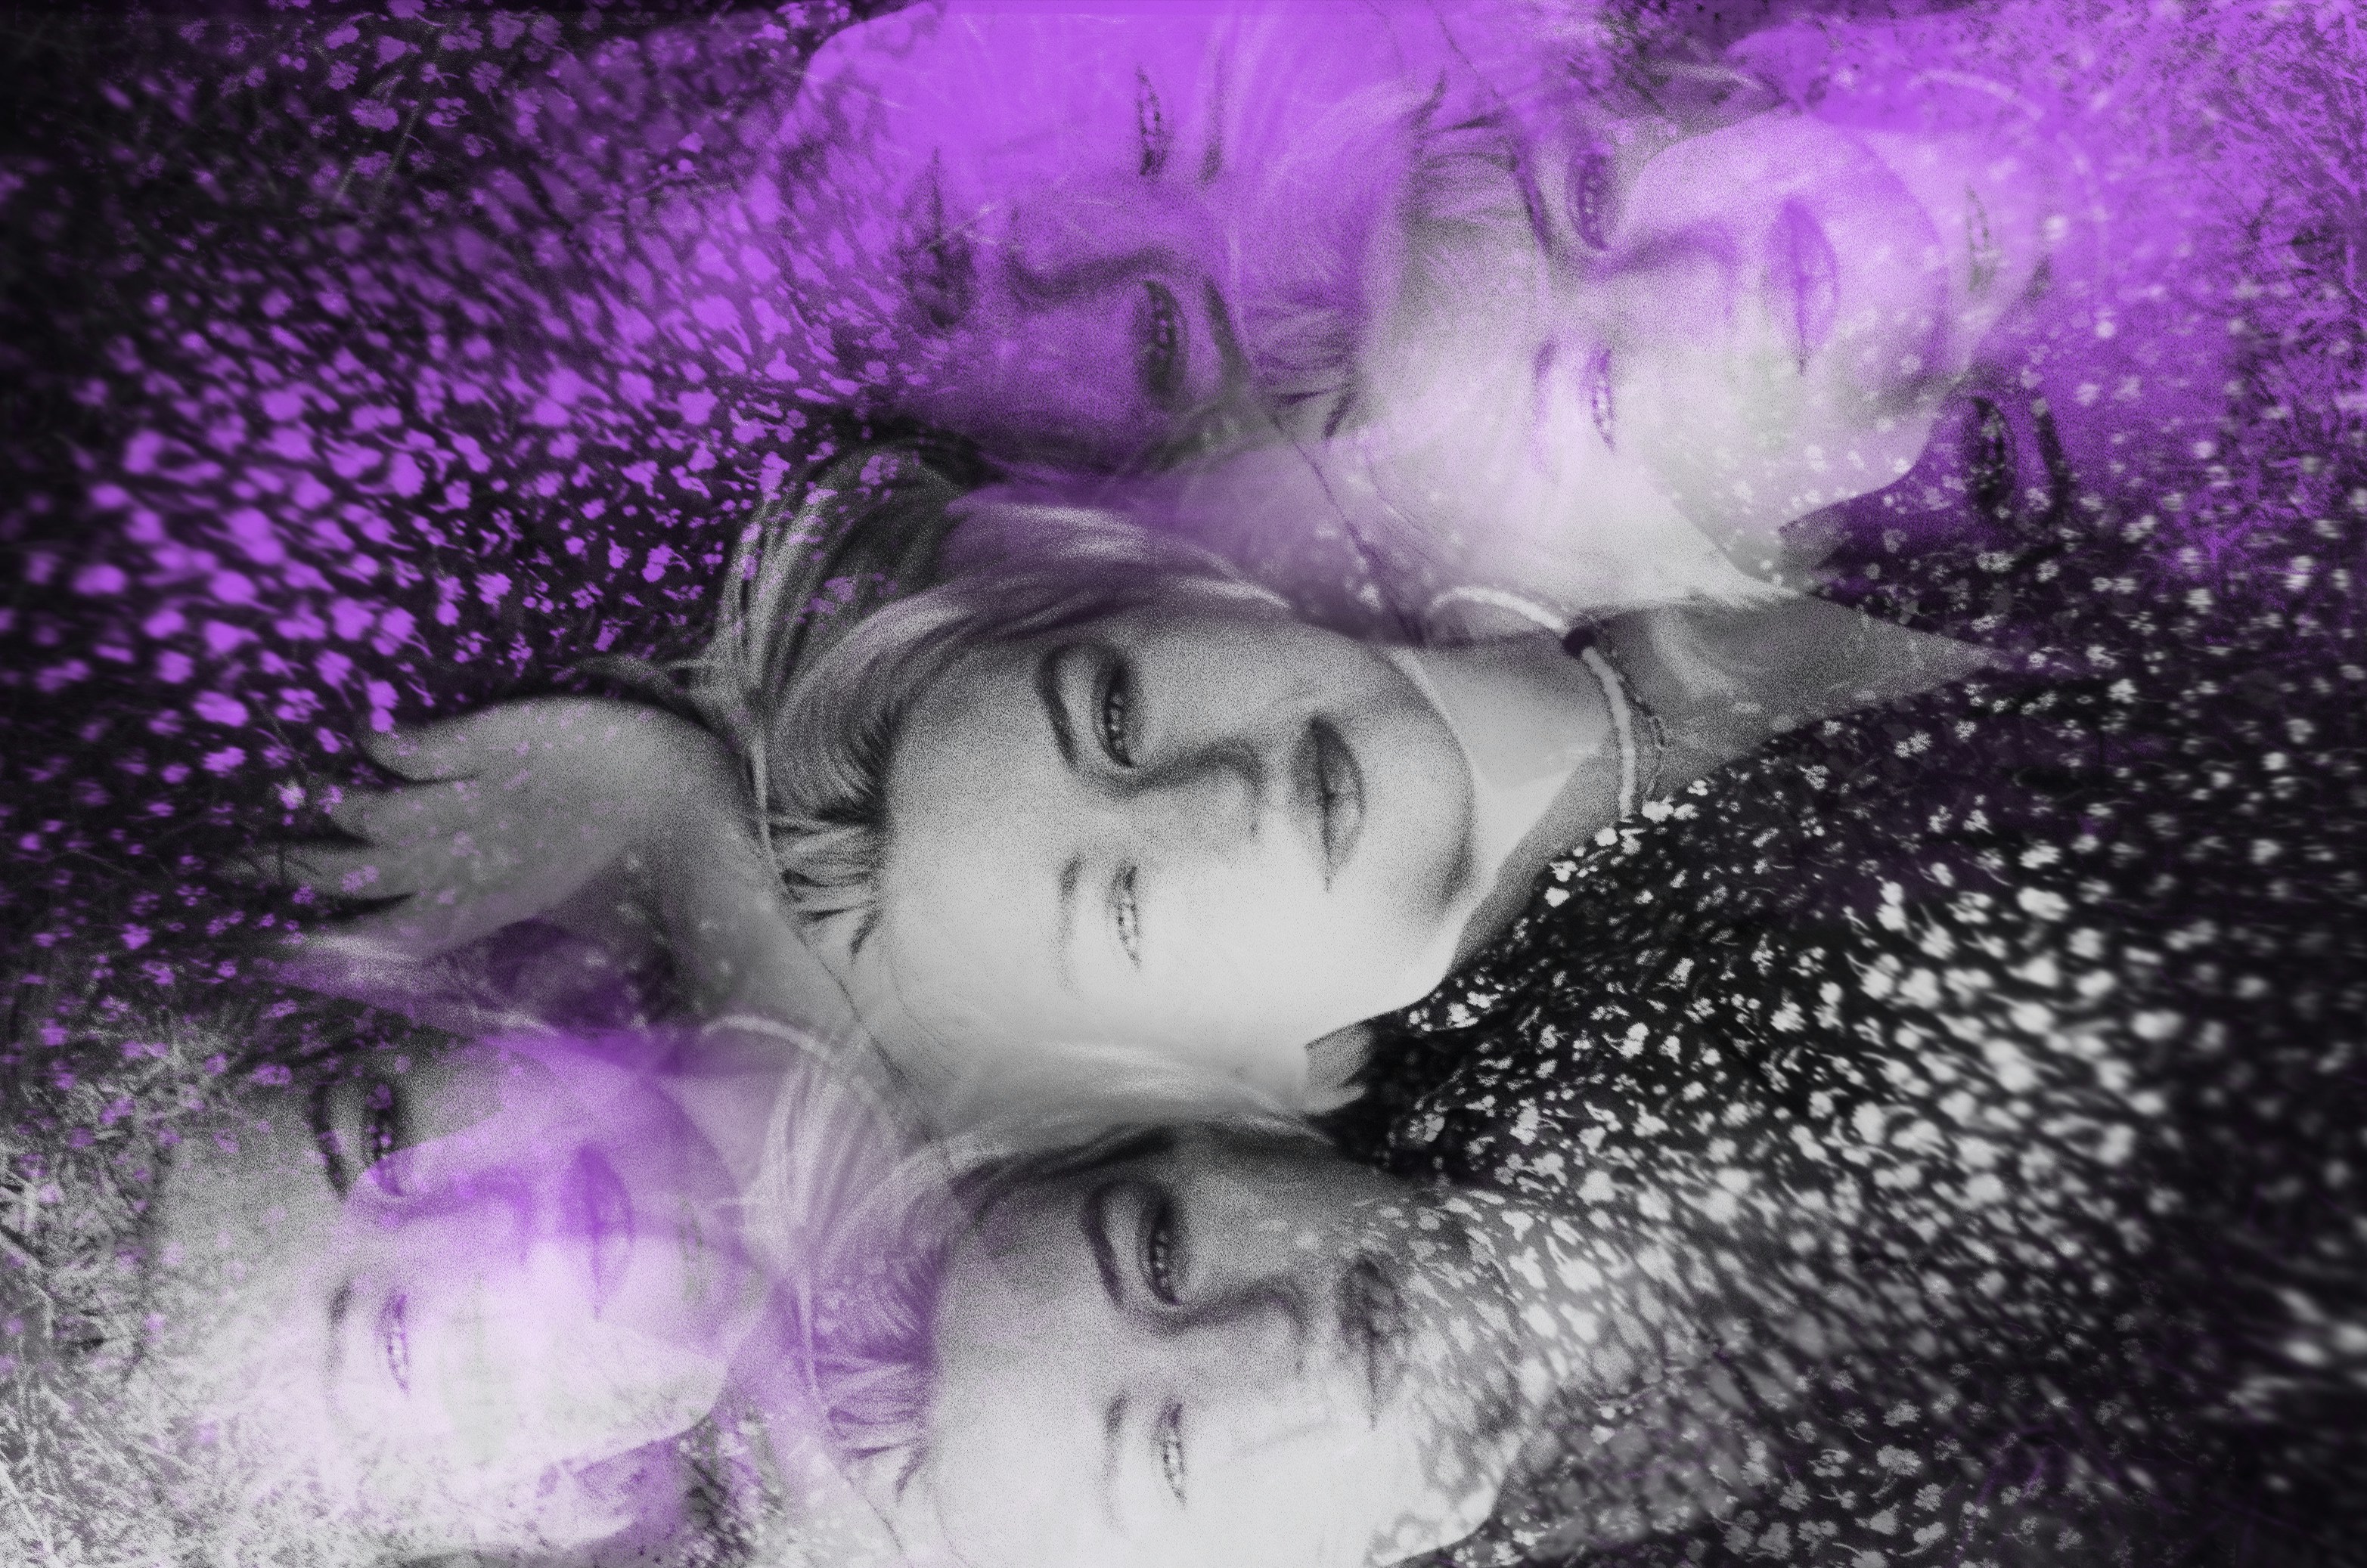
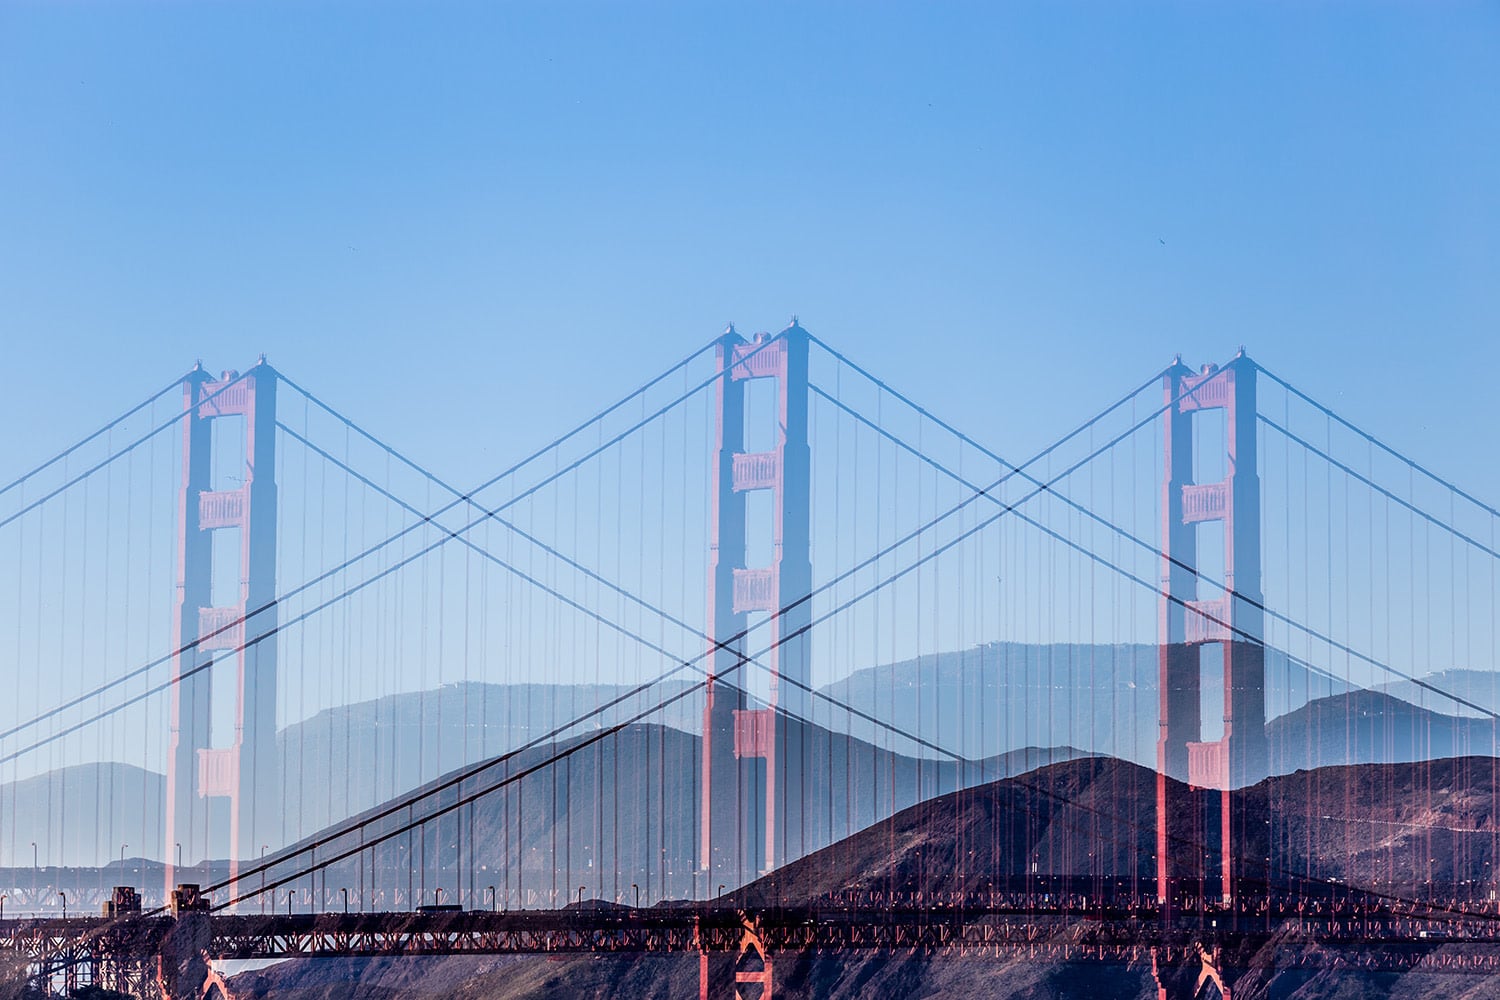
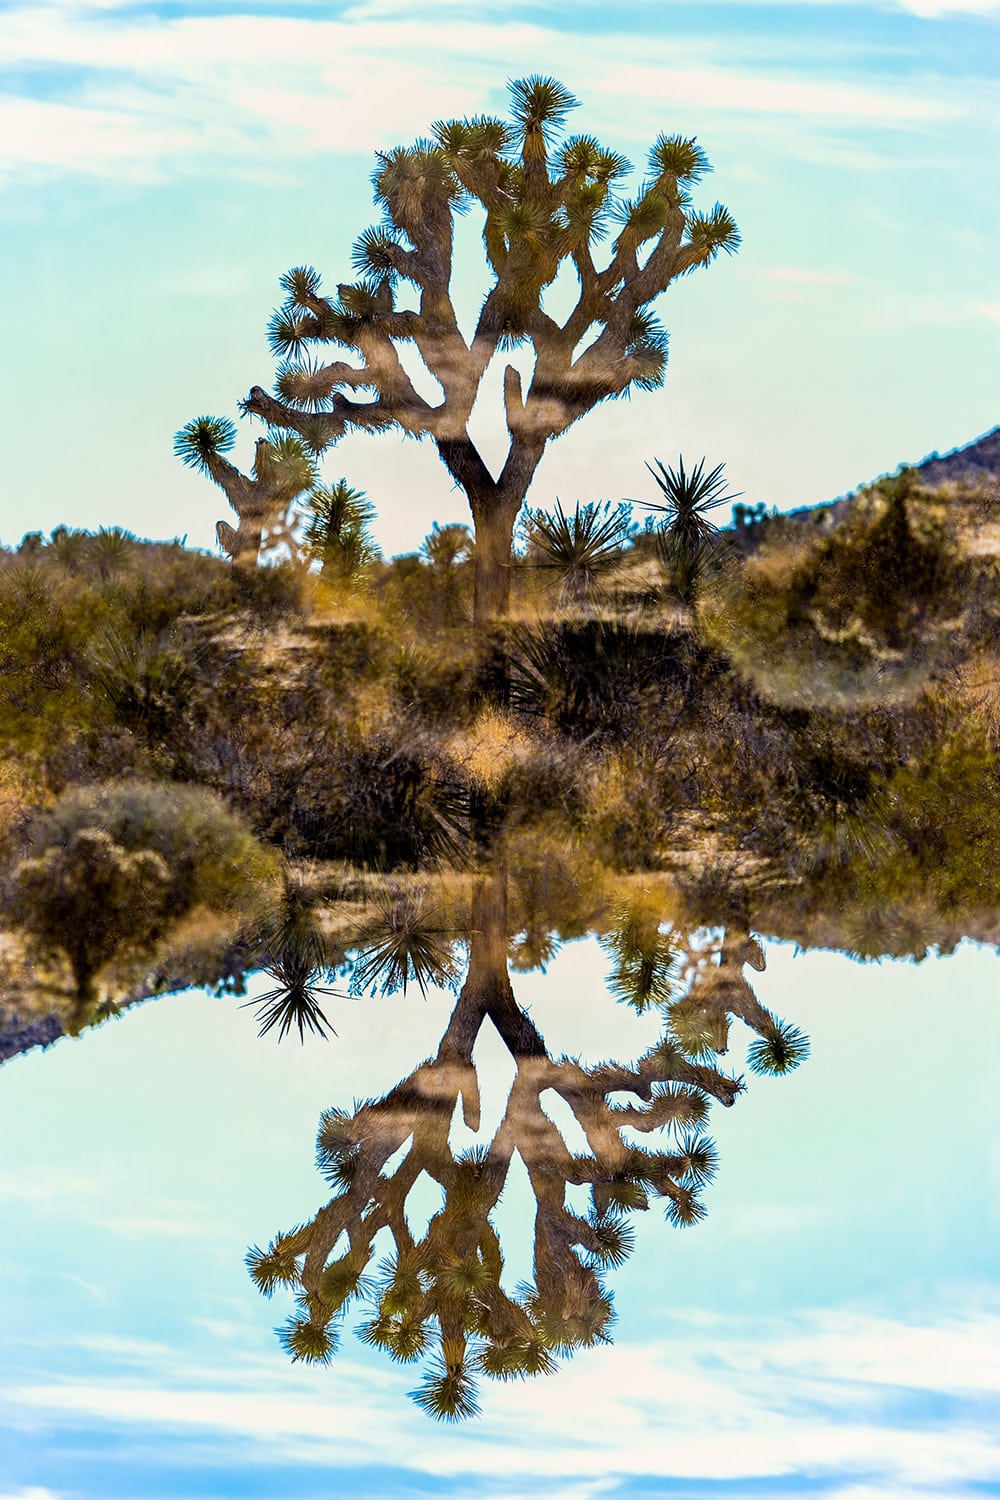
He explains, “I select the multiple exposure and how many frames I want, it’s usually two. Then I take the first photo in a regular way. To create this reflection effect, when I take the second shot, I turn the camera upside down. And I try to frame it with the first shot. Everything’s upside down now, so it blends together, creating this mirror type of effect. It works better when I have a clear background, like a sky. It’s less busy and it’s easier to see the images merging.
“I usually use the optical viewfinder. When you take the first shot, and you’re ready to take the second one, if you change to the LCD screen, you can actually see the first shot with some opacity, right before they merge. Most of the time, I just do both images looking through the viewfinder. But sometimes it gets really hard to do exactly what I want. Then if you switch to the LCD you have a more precise way of framing. It’s really fun.
“There are so many people who do crazy stuff in Photoshop, I’m sure you can do it. But I don’t really know how to get the exact same effect. I know how to play with layers and stuff, but when I get the results in the camera, I think it’s even more fun. And I’m able to see the results right there doing it. I get excited when I see what I’m getting in the location, and the more excited I get, the more I want to try different angles, and different spots, and different lenses.”
How to create your own double exposure photos
1. Make sure you have the right equipment
Many DSLRs have the capacity to take multiple exposures in camera. This useful list will tell you right away if your camera has the feature or not. The Canon EOS 5D Mark III and 6D both have it, as do the Nikon D800 and D300, as well as many other digital cameras. You’ll likely also want a tripod, and maybe a shutter release cable and flash.
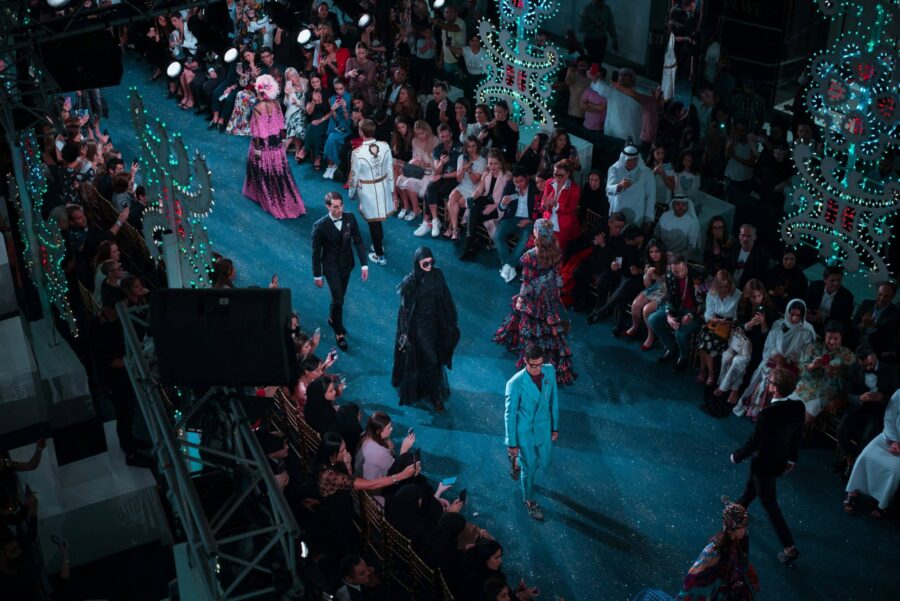
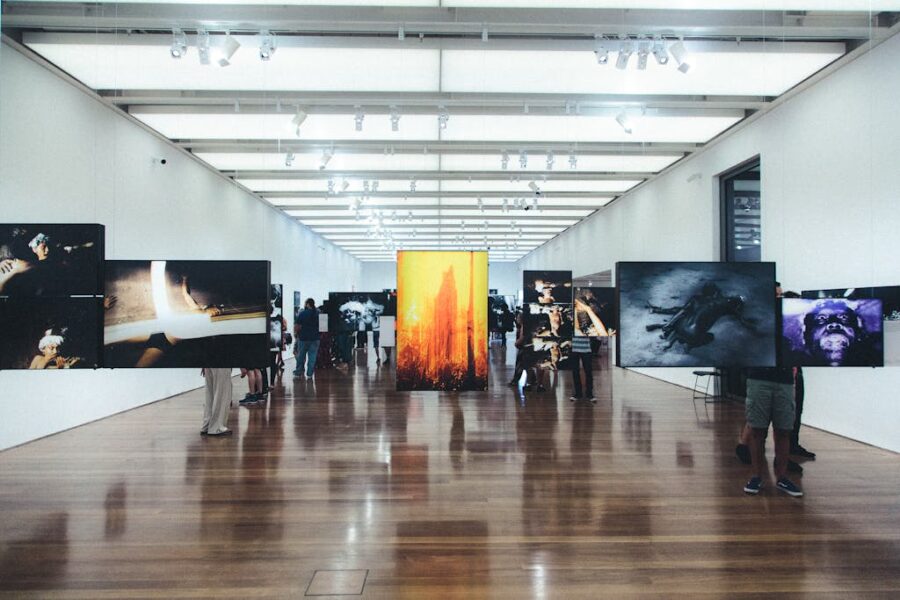
2. Choose your setting
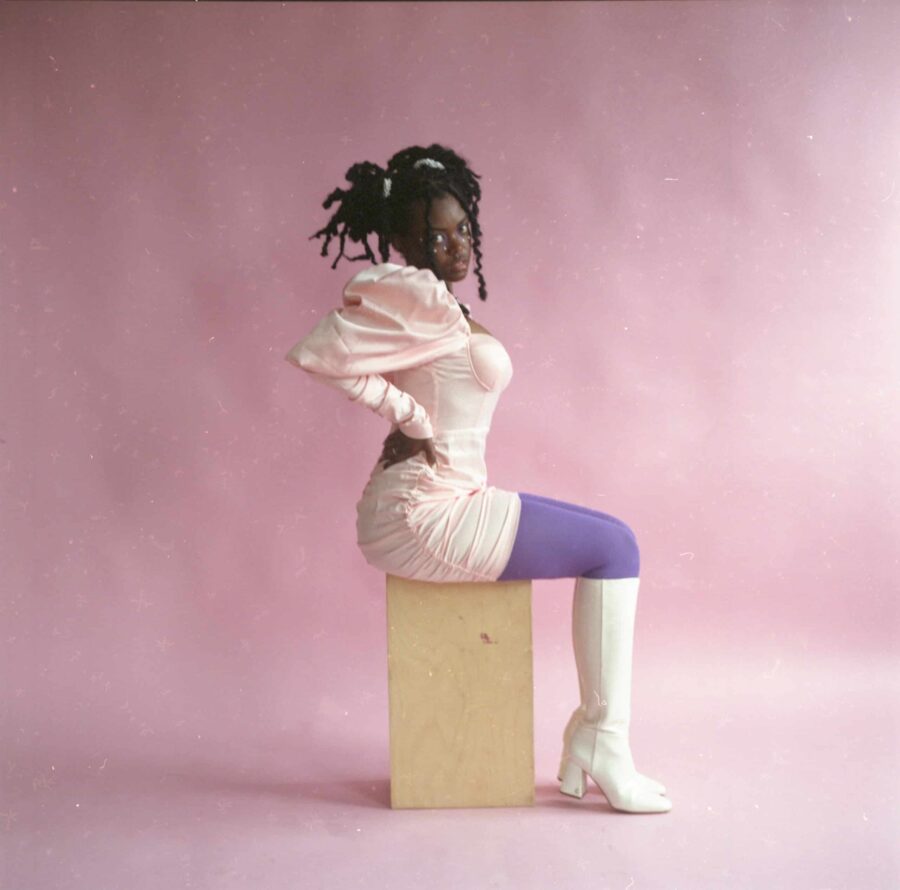
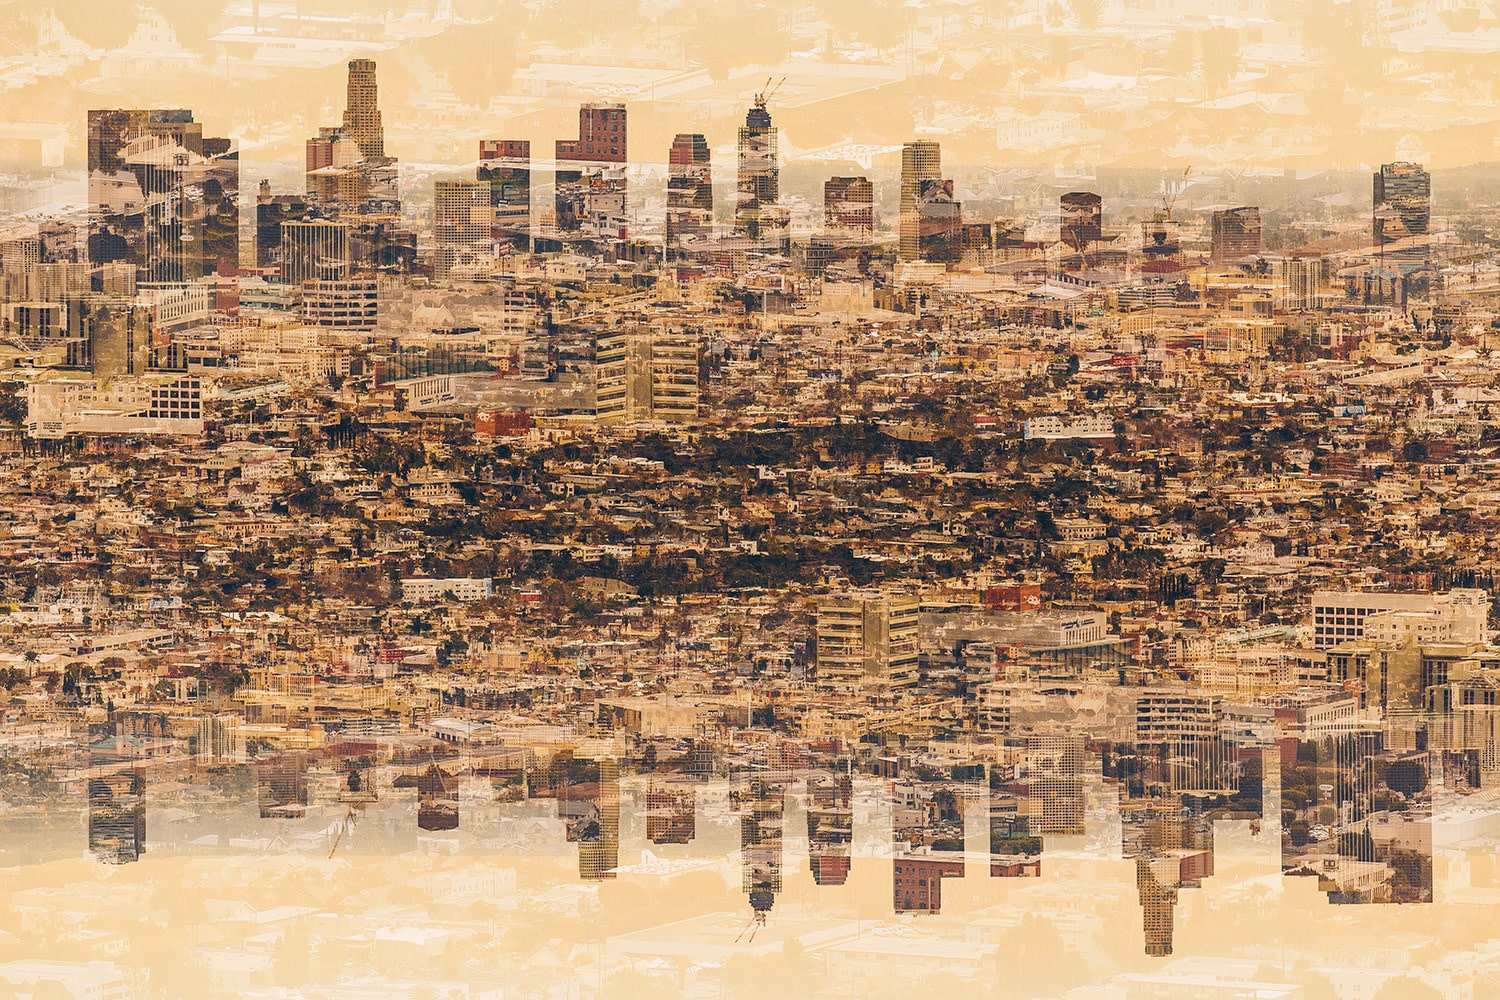
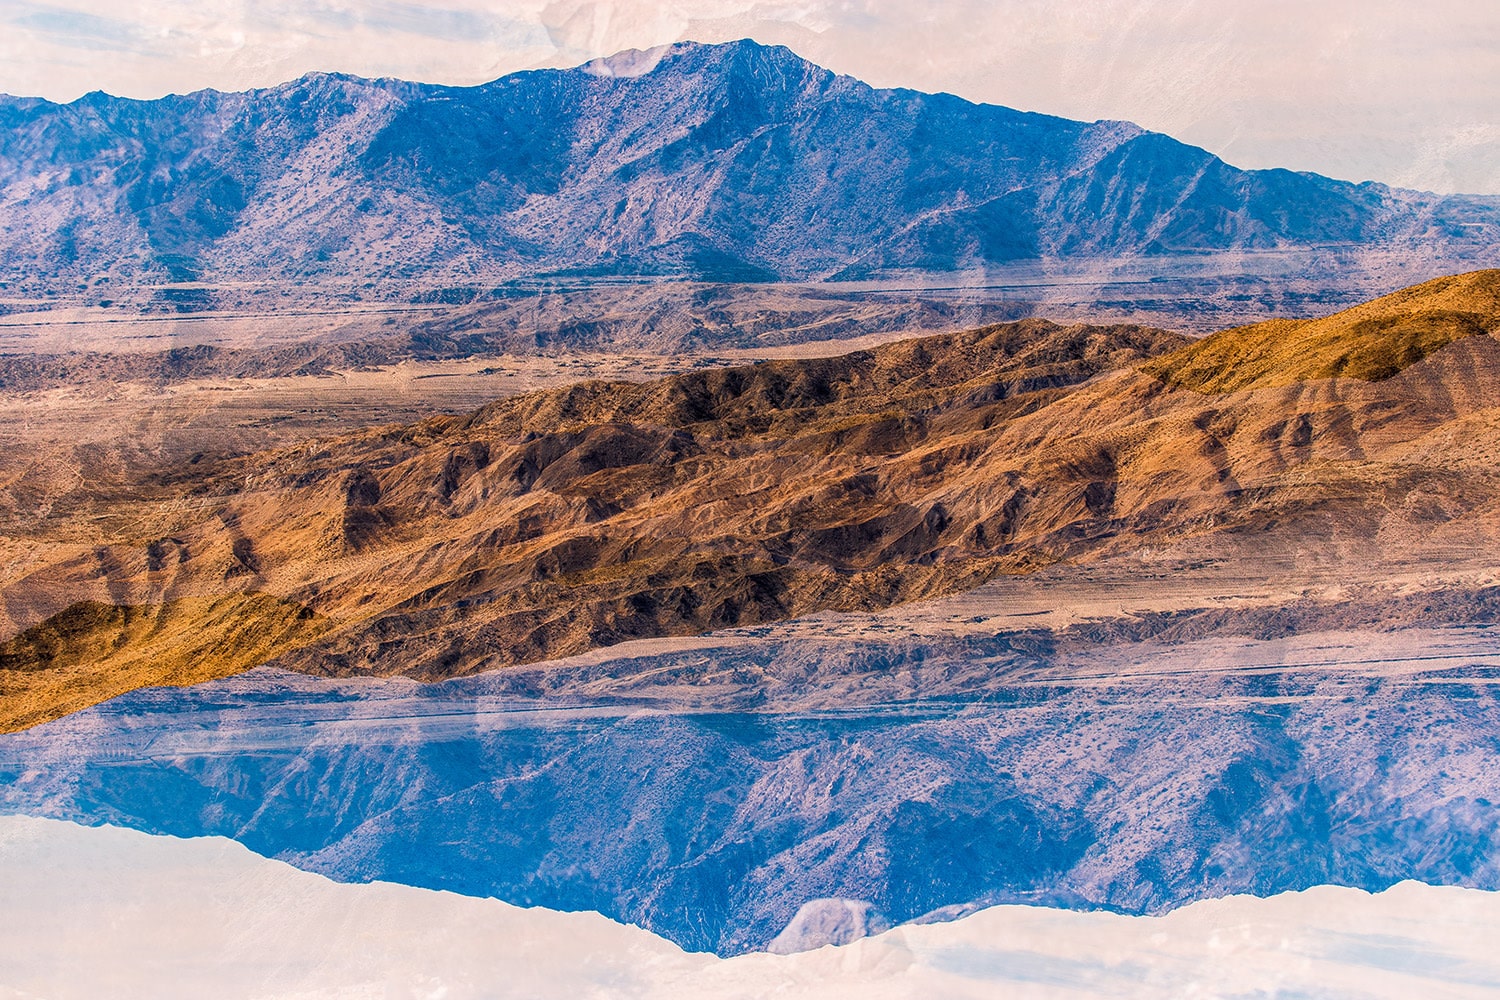
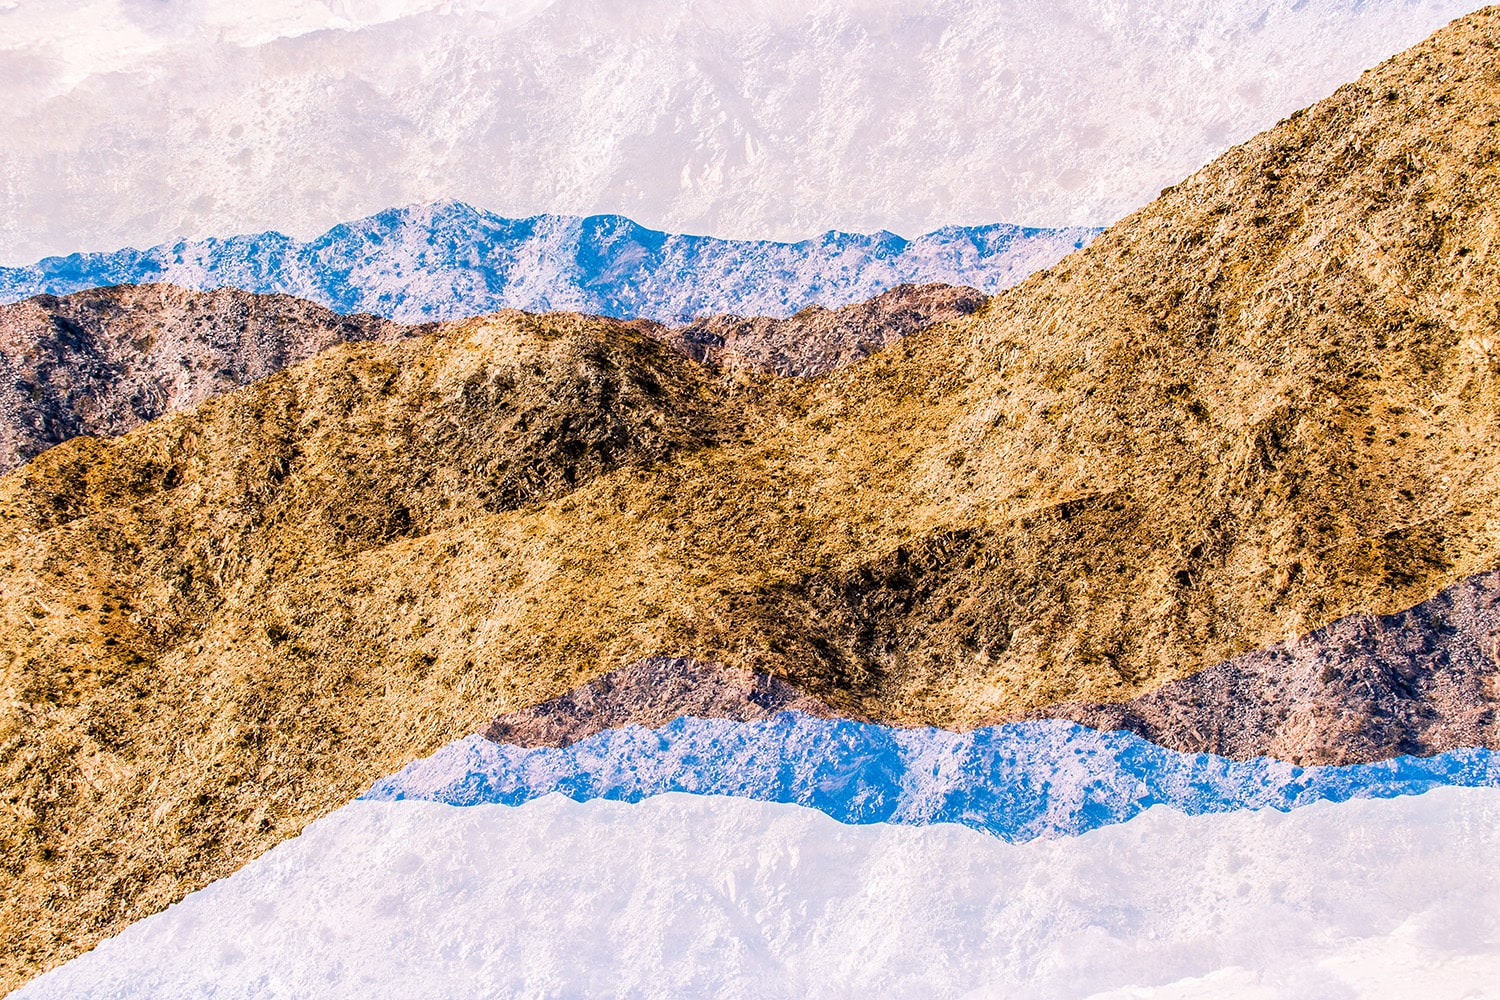
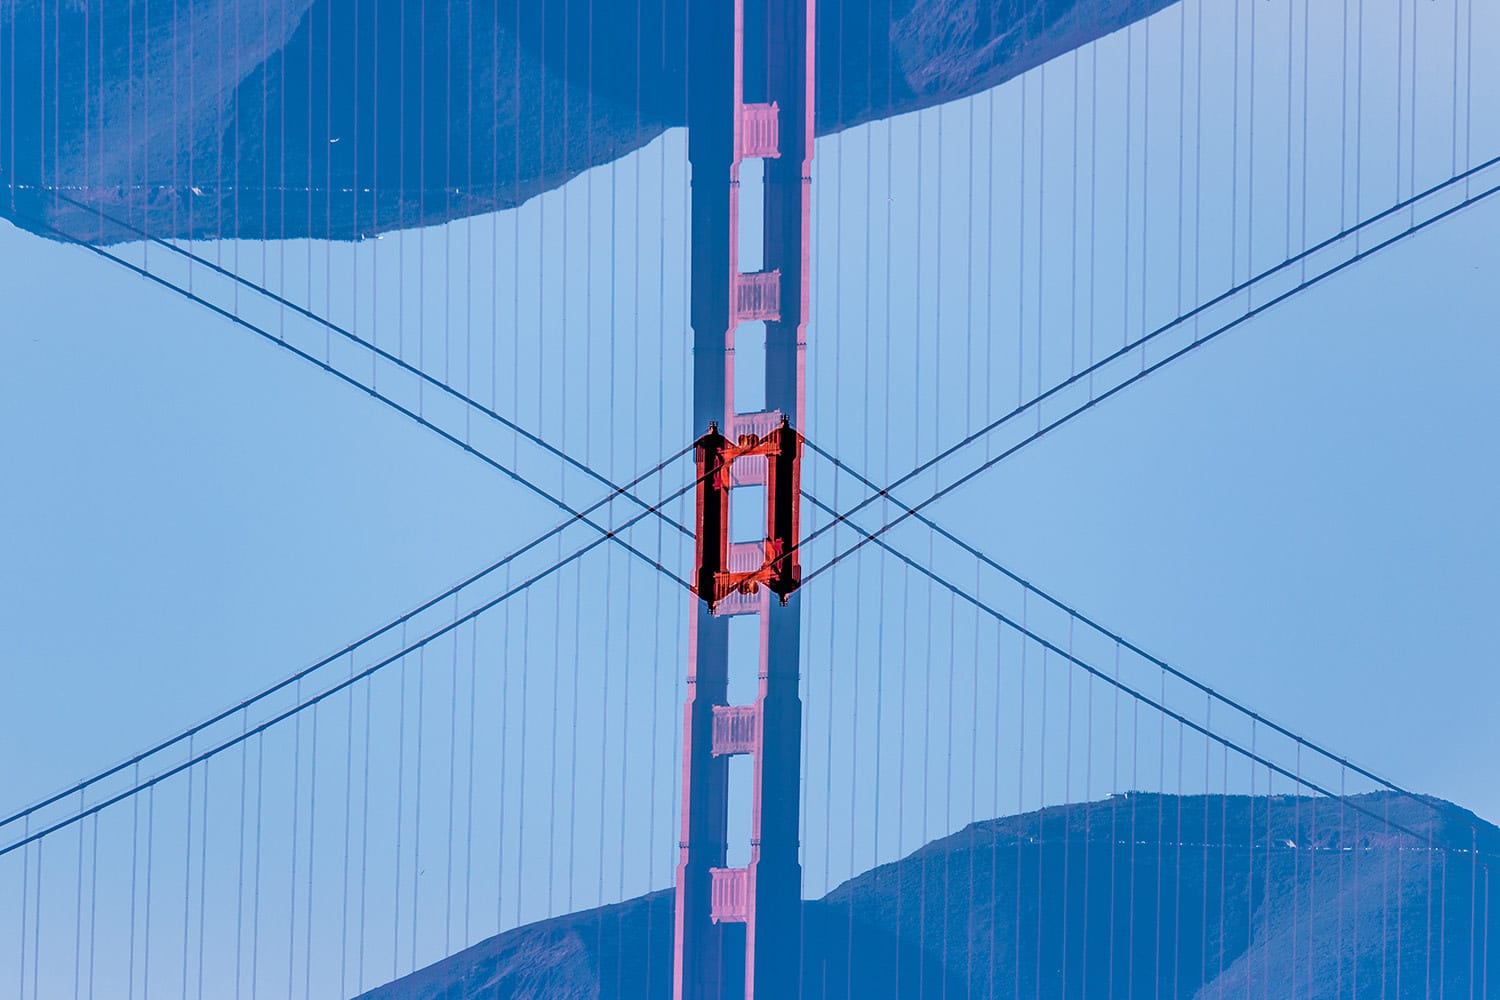
Natural scenery or striking architecture are great subjects for multiple exposure photographs. But a plain background could also work well, depending on the kind of photograph you want to produce. Before you start shooting, take note of details like cloud cover and interesting architectural details, and decide how you might want your final images to look.
3. Choose how many exposures to take
You can shoot just two exposures onto the same frame, or, depending on your camera, layer a whole bunch of different images on top of each other. It might be best to start out just shooting two exposures to get a feel for how your camera handles double exposures, and then get creative with more.
4. Take your first shot
Set up your first shot, and take it like you would any other image.
5. Take your second shot
As Mascaro explains above, you have options for how you line up your second exposure. Of course, this will depend on your camera, but it’s likely that your camera will have the option of viewing your first exposure on the LCD screen as you line it up with the second shot. Play around with this feature, and see if you prefer seeing the image on your screen or simply lining up both shots via the viewfinder.
See more of Leonardo Mascaro’s photography at his portfolio. Follow us on Instagram at @useformat and show us your multiple exposure photography by tagging #useformat.


If you’re looking to learn how to do a double-exposure in Photoshop, or just plain interested in brushing up your photoshop skills, check out our curated list of Photoshop tutorials.